For the “little boy” in me, this GEEKTOYS 2.4GHz 6-Axis GYRO RC Aviax GPToys Quadcopter sure was a delight to play with my little girls. They enjoy watching, chasing, running away from, and picking up the toy when I crash it. LOL.
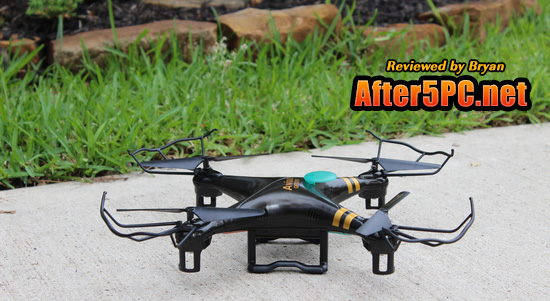

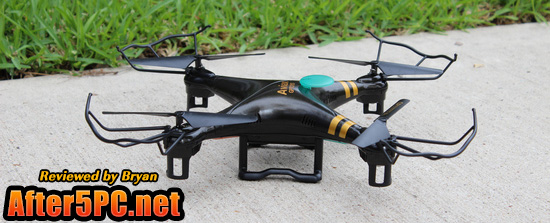
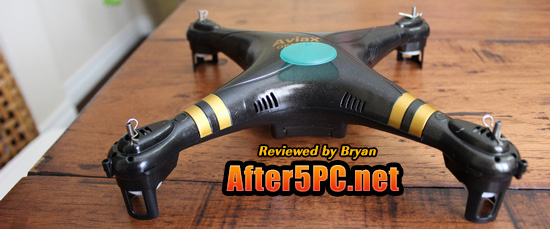
The package arrived quickly using my Amazon Prime account and was received in good condition. The retail box actually looked nice and the contents are pretty secured in the box. The quadcopter is much bigger than I initially pictured in my mind, which is great, because usually the others I’ve tried in the past in this price range are much smaller. I also like the color combination of black and gold design… makes it look nicer in my opinion.

The package contains the following contents and accessories:
– quadcopter
– transmitter
– propellers
– base/feet for the quadcopter
– screwdriver and screws
– instruction manual
The quadcopter and accessories are in separate compartments. When you first unbox the retail package, this might not seem obvious.
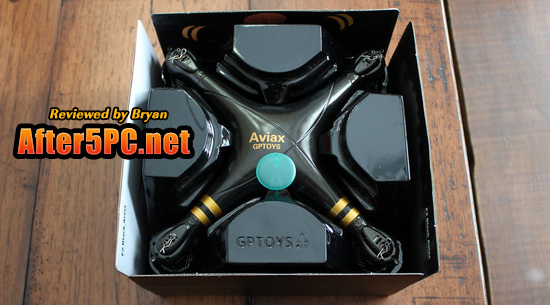

Just pull out the top compartment and the bottom will show the other accessories you will need to get setup. There is some assembly required.
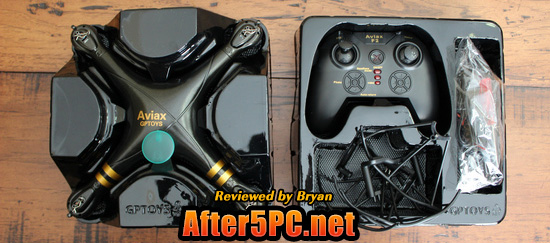

Without assembly, this is what you’ll get:

The package comes with enough propellers, plus some extra in case you need to replace broken propellers in the future. If I remember correctly, I believe I had 3 extra propellers. The propellers are marked “A” or “B” and has directional arrows to give you an idea which direction they go to. These markings will be important during the assembly process.
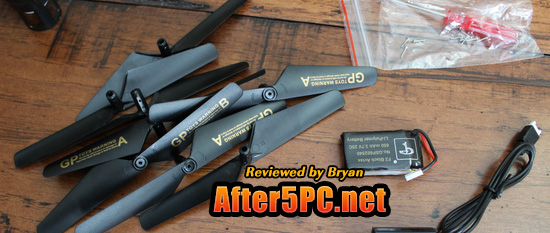

It does not come with any batteries for the transmitter/remote control, so be prepared to use 4 AAA batteries. I still have some stock at home, so I’m glad to have extra batteries around. The quadcopter comes with a lithium polymer battery. The USB cord for it is also included, but you’ll need a USB charger to connect it to. The tip of the USB cord will light up red while you’re recharging the battery. Once the red light disappears, this is the sign that the battery has been fully charged. The battery has 650mAH capacity, which gives a reasonable amount of flight time.


The battery compartment is in the bottom of the quadcopter. Just slide it over (there was no arrow to point the way, so I had to figure this out myself) until it snaps open and you can swing the cover out. Access to it is certainly easier, compared to another one that I’ve owned in the past, which was a pain to recharge, because the battery location and compartment was in an awkward position. Not this one!
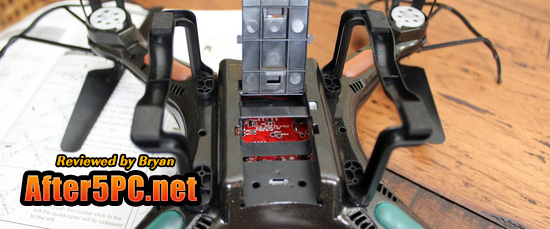

The wires coming out the lithium battery needs to be plugged in to the slot inside the compartment. You can see it this slot in the photo below. This is the same wire that you will plug in to the included USB cord when it’s time to recharge the battery again.


The instruction manual was helpful, but for some reason, it did not include any assembly instructions for the propellers and other accessories. I just installed it out of common sense though. LOL.
The base/feet and propeller protectors need to be inserted to the matching hole in the quadcopter and screwed on.
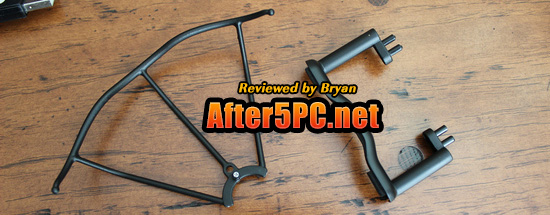

Here’s an example photo of the insertion points on the bottom of the quadcopter where to fit in the base/feet accessory. I just left this as is, without screwing them on, since it was a tight fit for both sides — but there are screws available if you want to secure them more.
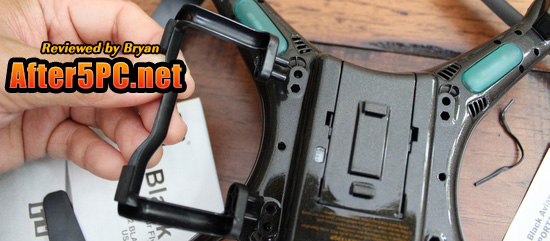

It’s the same concept for the propeller guard. The one in the middle needs to be screwed in. The propeller guards were the most difficult ones to install. To install them in the groove and push them in, I felt like I was about to break the quadcopter.
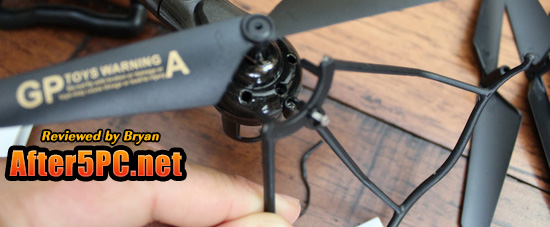

When you install the propellers, make sure you match the right types. There is a directional arrow etched unto the quadcopter close to where the propeller goes so you can see it. That’s the circular area that you can see on the right side of the photo below.
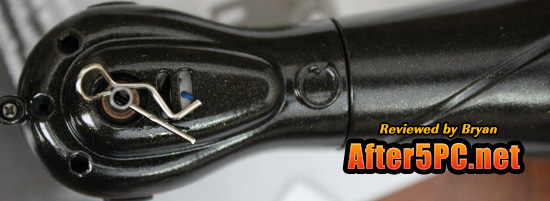

Make sure the arrow pointing to the direction matches the same direction marked on the propeller — otherwise, you won’t get any stability. Notice in the photo above that there’s a metallic clip inserted into a hole on the protruding part of the motor. Take that clip off when you install the propeller. The base of the propeller will also have a hole, as shown below.
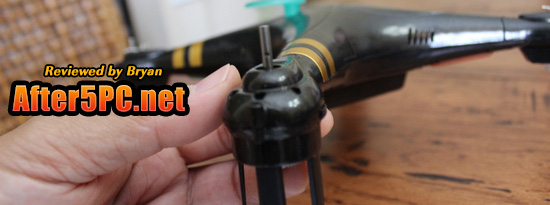

Just match out the holes when you insert the propeller and then secure it with the clip. Using a clip and lock option is a better option I think, as I’ve had other quadcopters before that was not secured by anything and were also inserted in. As you can imagine, they eventually started loosening up after much use and pretty much rendered the propellers useless. The propellers for the Aviax GPToys quadcopter were definitely more secure.


Again, I’m telling you all of the above information because they were not covered in the instruction manual that came with the package. However, it’s easy to figure them out (or at least it was easy for me).
My brother has an expensive drone, but this will suffice for a beginner like me who is still learning how to fly these kind of toys. The retail box recommends it for ages 14 and up. This will be too complicated for 4-yr olds. The 6-axis gyro helps with stability, but it does take some getting used to at first. I’d advice going to an open area when the weather permits and it’s not very windy and get some good practice. Fly low at first, until you get used to the controls. That’s what I did.
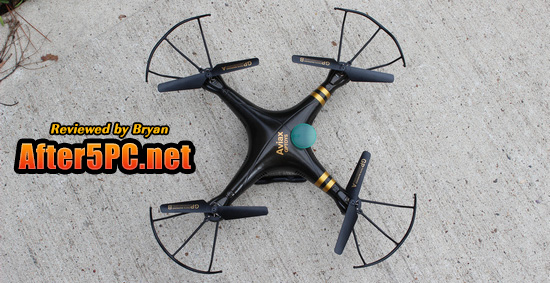

This one has what it calls a “headless” feature. You can disable or enable it from the transmitter control. There’s no explanation from the manual on this, but from what I gathered during test flights, this is when there is no set tail or head on the quadcopter. I actually prefer this option because I can control the quadcopter and steer in the right direction without having to worry about the direction of the main “head” and matching the controls
It claims a control distance of 100 meters, which is more than 320 feet — but I usually try not to max it out and take that risk. The battery stores a 650mAH of power, which gives you at least 6-10 minutes of flying time according to the sales material. This is comparable to other small quadcopters in the market. However, I was actually able to get at least about 15-20min of flying time on mine — but that’s probably because I’m just doing some basic flying and not doing any crazy tricks and flips.
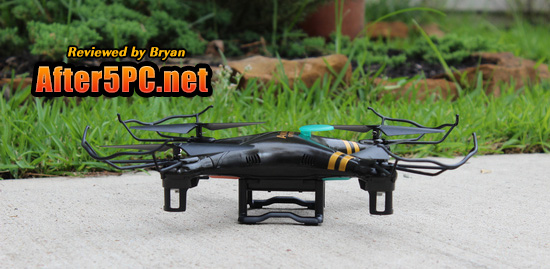

Overall, the GEEKTOYS 2.4GHz 6-Axis GYRO RC Quadcopter did well. In fact, I actually enjoyed flying it. It is more stable than another quadcopter that I have tried this year, and is definitely easier to control. I’m even able to land this thing better, unlike the older quadcopter I had. I’m no expert, so I’ve sustained multiple crashes, but thankful that I’ve had no serious hard crashes yet that has broken the quadcopter for good! I hope to enjoy it this for a long time with my girls.
The GEEKTOYS 2.4GHz 6-Axis GYRO RC Quadcopter is currently available on Amazon. You can have it with free shipping on qualifying purchases. Try it today and enjoy flying!
P.S. – This quadcopter does not require FAA registration, unlike my brother’s drone which need FAA registration.


0 Comments